User management

    How to Invite Cardholders to Darb

    Invite cardholders one at a time, or add users in bulk.

    Steps to Invite a Cardholder

    1. Go to Team.
    2. Click + Add Team Members.
    Add Team Member button in the Darb Team page.
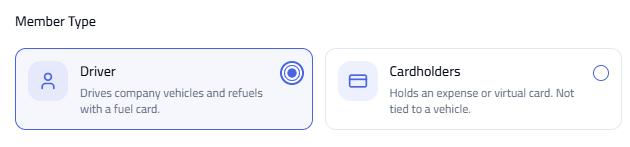
    1. Select the user type: Cardholders (for Travel & Expense cards) or Drivers (for Fleet cards).
    Member Type selector showing Driver and Cardholders options.
    Choose Driver for fleet/fuel cards or Cardholders for Travel & Expense cards.
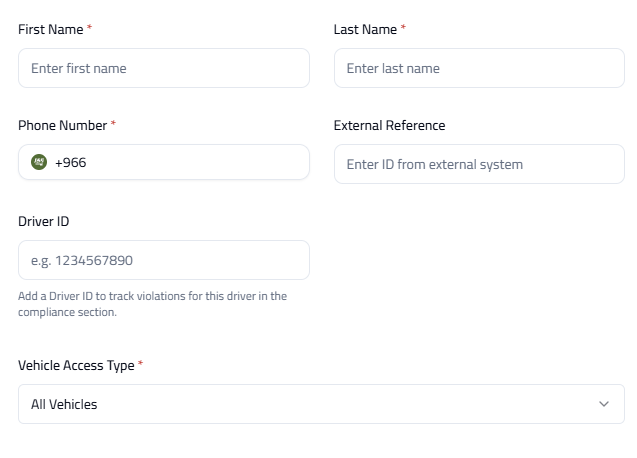
    1. Enter the required details.
    New team member form fields including First Name, Last Name, Phone Number, Driver ID and Vehicle Access Type.
    Fill in the team member's personal details, phone number, and access settings.
    1. Click Save Employee.
    Save Employee button at the bottom of the form.

    What Happens Next?

    The user will receive an SMS with a link to access Darb. They can also download the app from the Apple App Store or Google Play Store.

    SMS invitation from Darb containing a link to download the app.
    Example of the SMS invitation sent to the new team member.

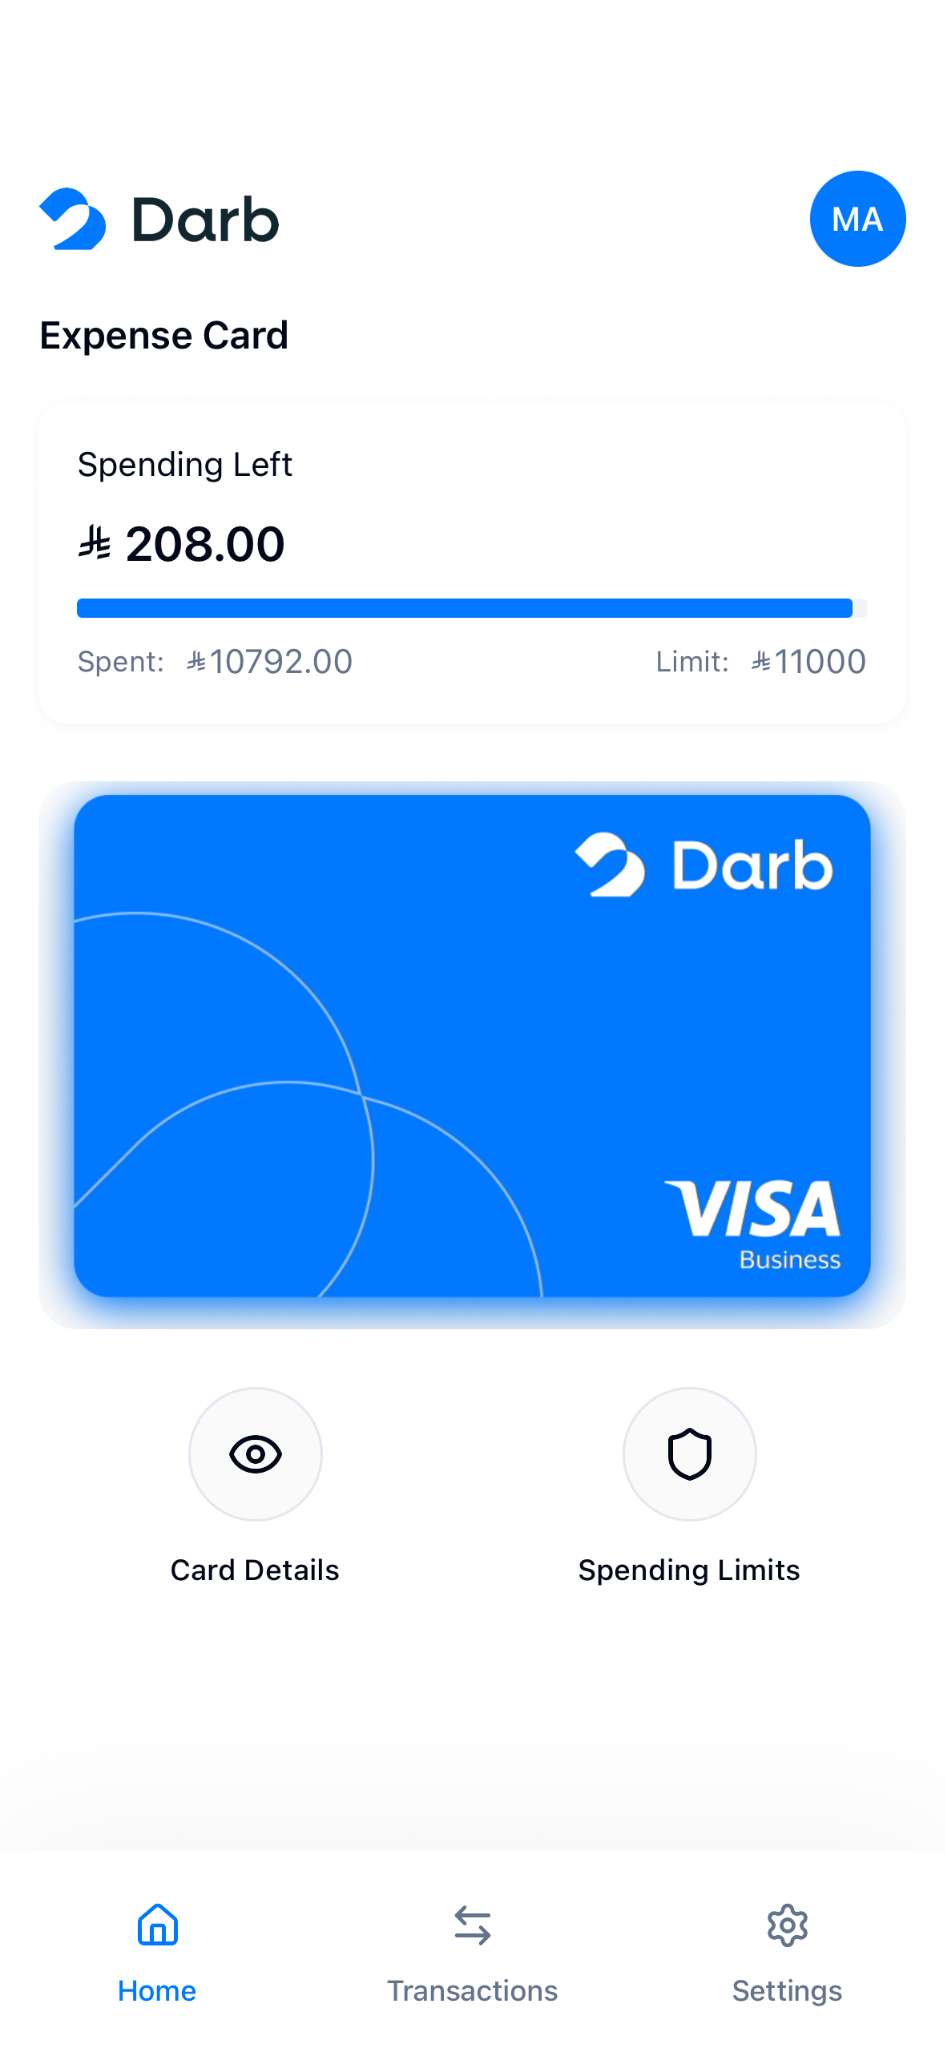
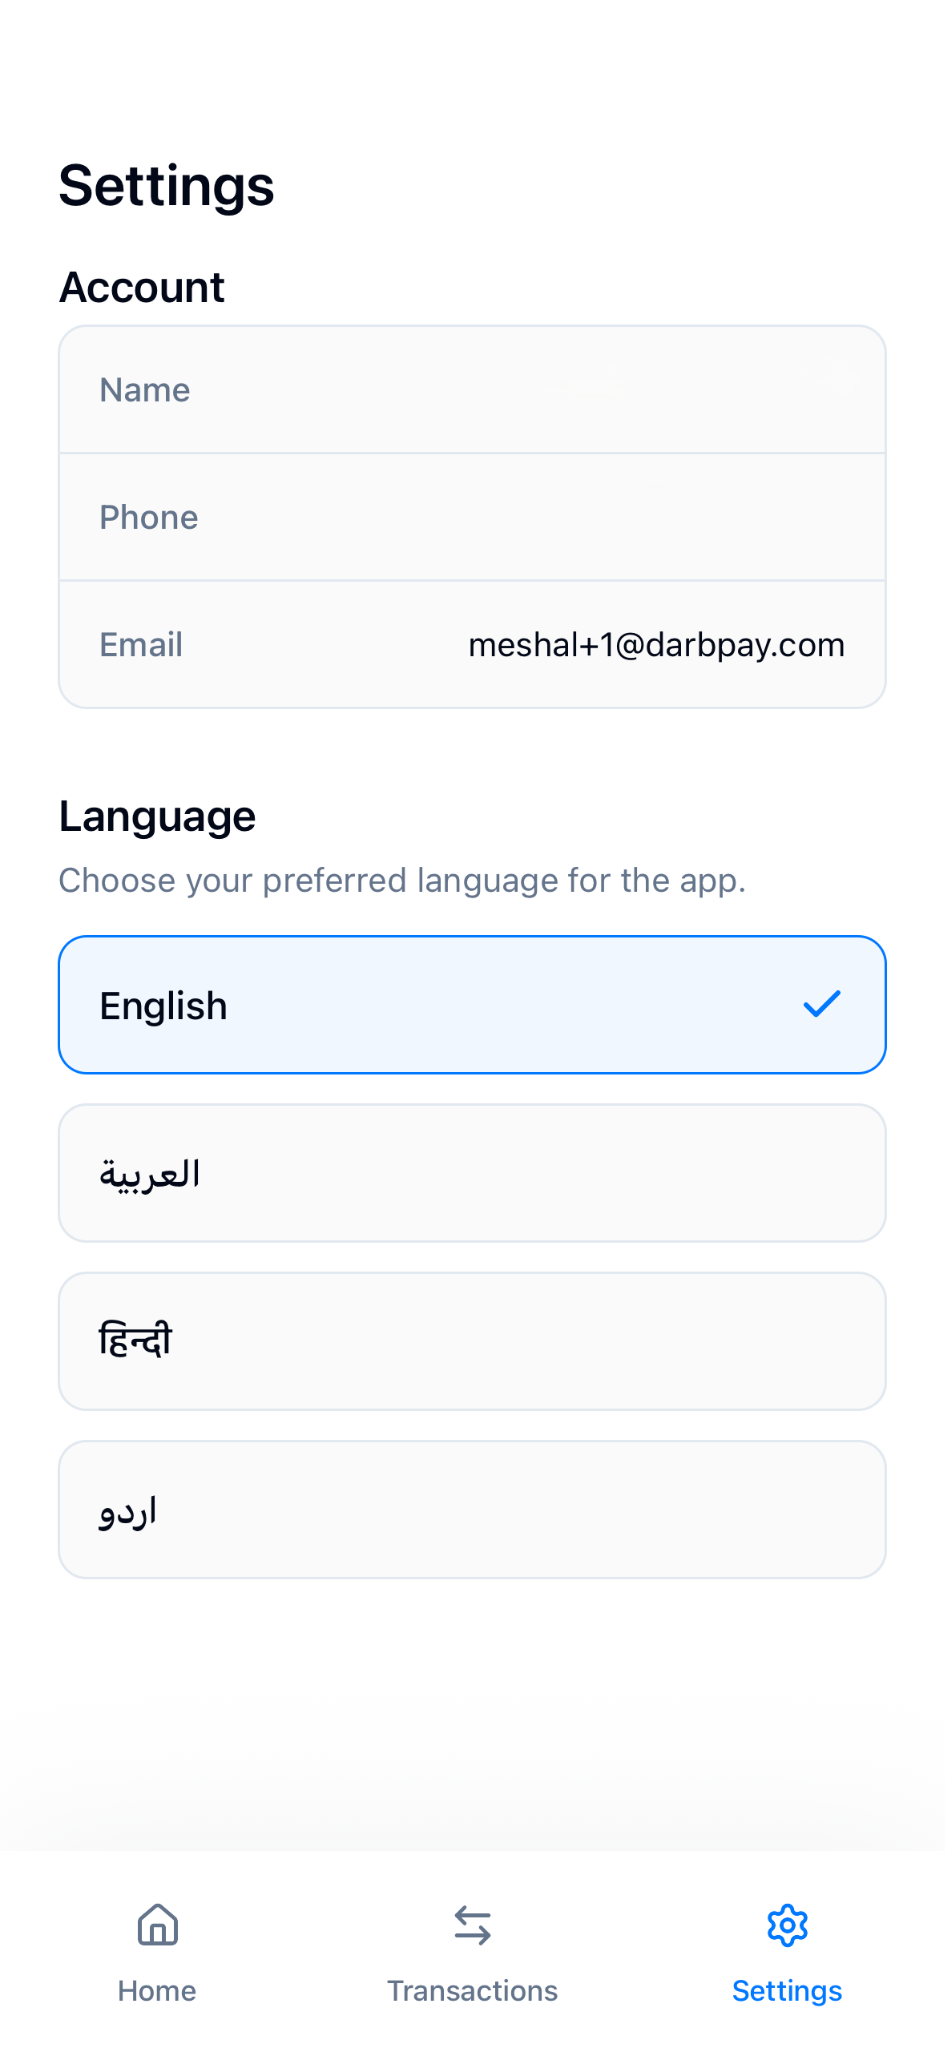
    What Cardholders Can See in the App

    Once logged in, cardholders will be able to:

    • View their card details
    • Check their assigned spending limit
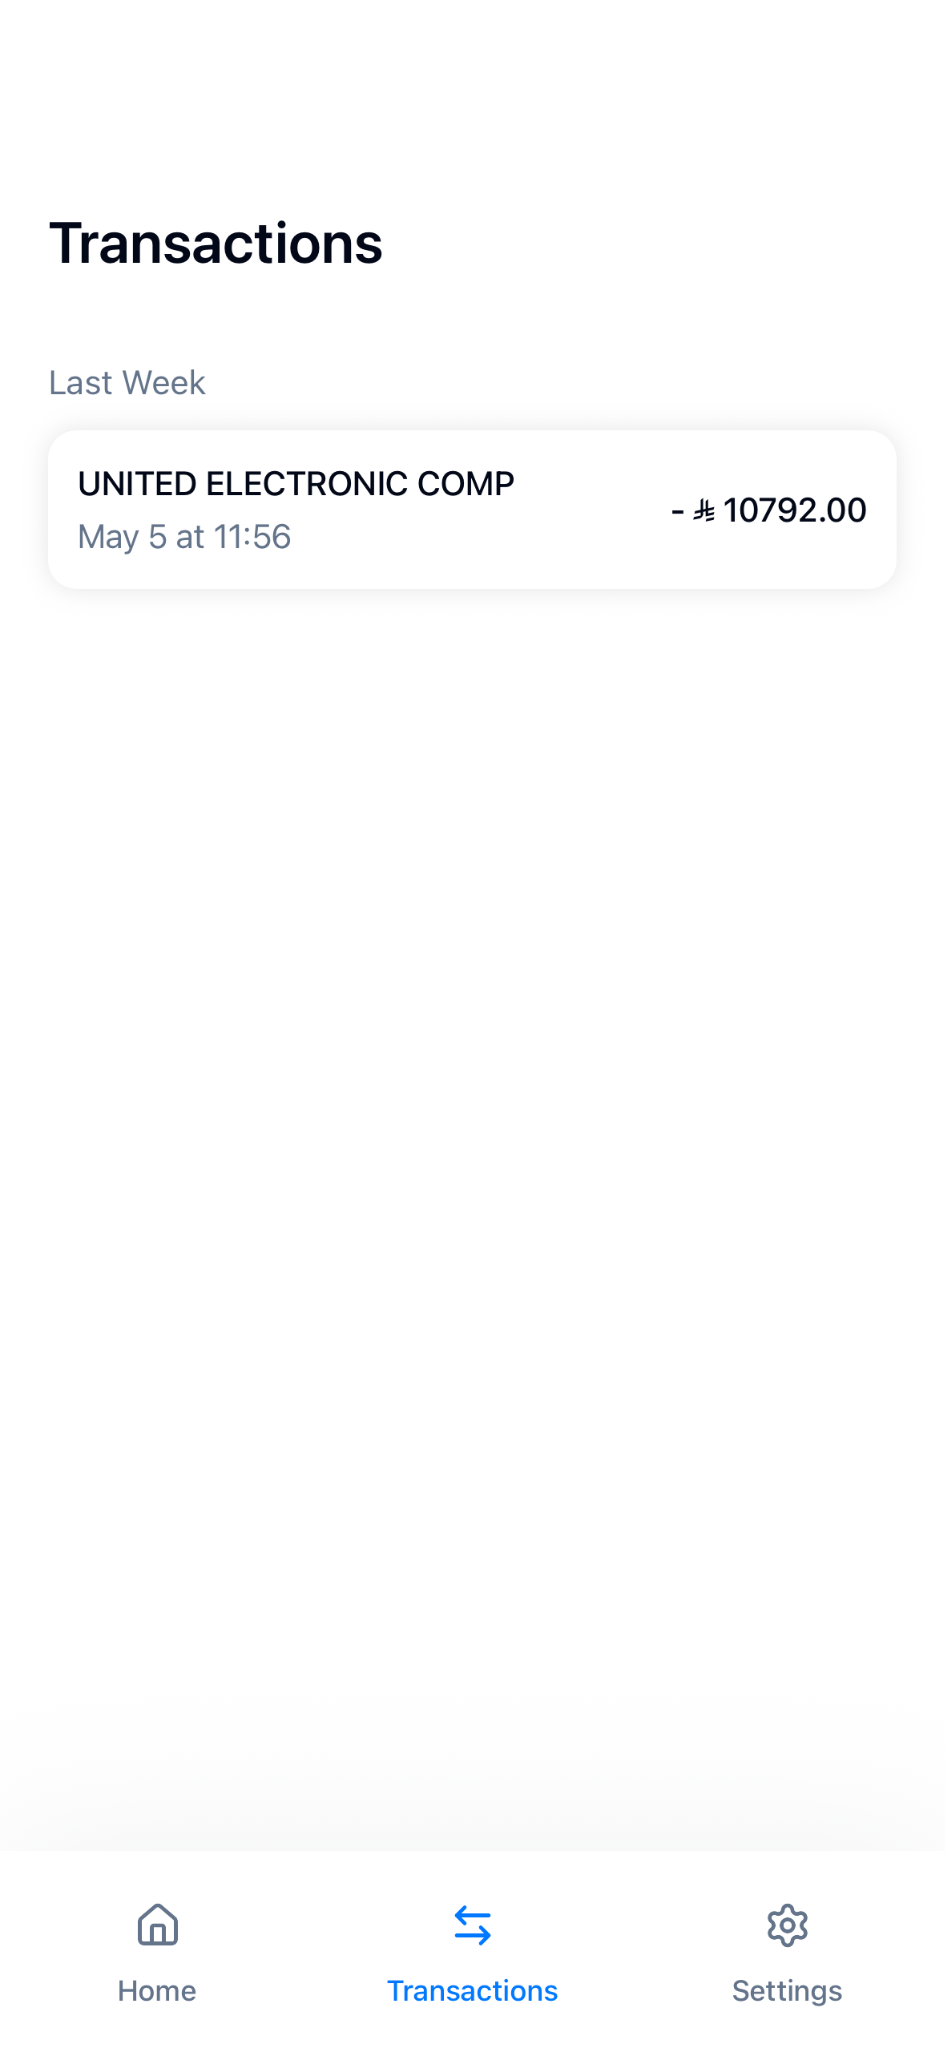
    • Track their transactions
    • Access their account information
    Darb mobile app home screen showing the expense card, spending left and limits.
    Home — card and spending overview
    Darb mobile app transactions screen listing recent purchases.
    Transactions — recent activity
    Darb mobile app settings screen with account info and language options.
    Settings — account & language

    How to Bulk Upload Users

    You can also upload multiple users at once by following these steps:

    1. Go to Team.
    2. Click Bulk Upload.
    Bulk Upload button on the Team page.
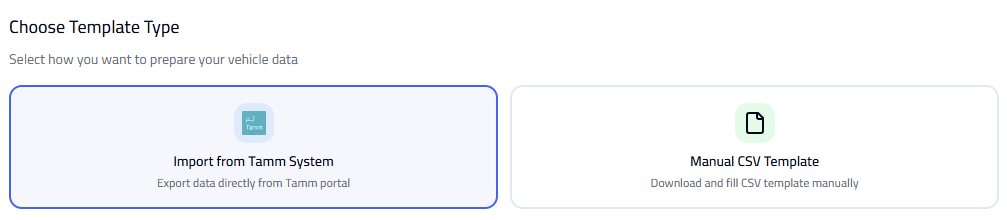
    1. Choose the Template Type.
    Choose Template Type screen showing Import from Tamm System and Manual CSV Template options.
    Pick Import from Tamm System or Manual CSV Template depending on your data source.
    1. Fill in the required details in the template.
    2. Upload the file to complete the process.
    Tip: Make sure all user details are correct before uploading. Use the correct template type to avoid upload errors.

    Need more help?

    Our support team is one click away — Sunday to Thursday, 9 AM – 5 PM (KSA).

    Related articles